
MODULE TWO: LESSON FOUR
Adding and Customizing Images & Graphics on Your Pages
Updating Existing Image Blocks
Your template comes with image blocks already in place on each page, making it easy to swap in your own photos and graphics without starting from scratch.
Open your Squarespace editor and navigate to the page you want to edit.

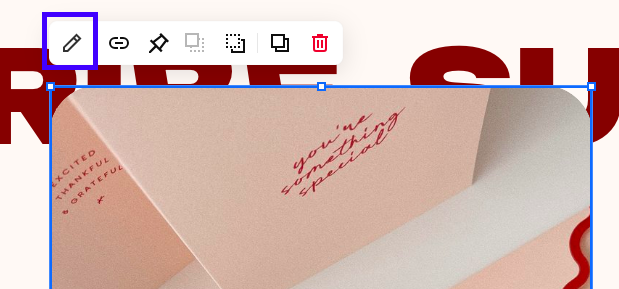
2. CLICK an existing image block — you’ll see options appear. CLICK THE PENCIL ICON.
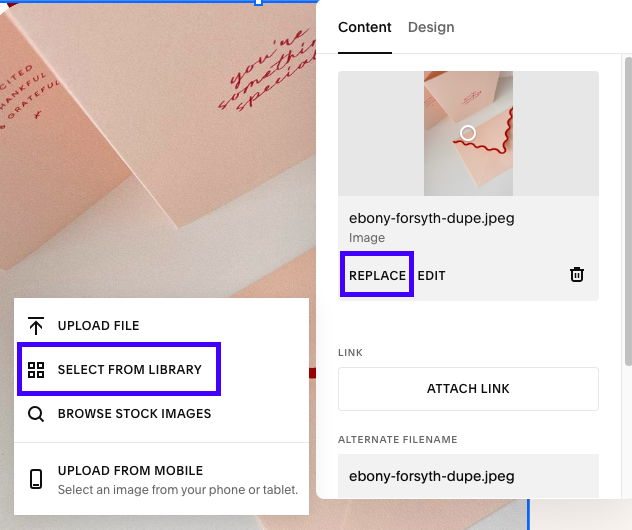
3. Click REPLACE and then choose SELECT FROM LIBRARY (SINCE WE ALREADY ADDED ALL OF YOUR PHOTOS TO YOUR ASSET LIBRARY). IF FOR SOME REASON, YOU HAVE NOT ADDED A PHOTO TO YOUR ASSET LIBRARY CLICK UPLOAD FILE AND YOU CAN UPLOAD AN IMAGE DIRECTLY FROM YOUR COMPUTER.
4. Adjust the image settings like size, alignment, and add alt text for accessibility.
5. ADD THE IMAGE AND SAVE YOUR WORK!
Adding a New Image Block
If you want to add an additional image or graphic beyond what’s included in your template, here’s a quick guide on how to do that.
Open the page editor and hover where you want the new image.
Click the + icon or Add Block button.

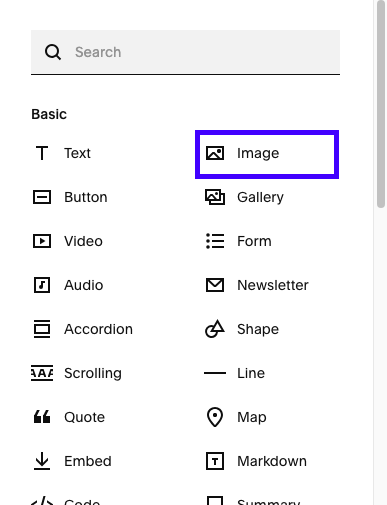
3. Select the Image block from the menu.
4. Upload a new image or choose one from your Asset Library.
5. Customize the display, size, and alignment as needed.
Tips for Both
Always add alt text to improve SEO and accessibility. note that your template does not already come with alt text.
READ MORE ABOUT ALT TEXT HERE
Preview your site to make sure images uploaded clearly and no adjustments need to be made
Keep file names clear so you can quickly find and replace images later.
action steps
Update an existing image block on your homepage or About page.
Add a new image block to a page and customize it.
Preview your changes across devices.