
MODULE TWO: LESSON TWO
applying your fonts
Time to Bring Your Fonts to Life
You’ve already chosen the fonts that represent your brand. now let’s apply them inside your site so everything feels cohesive and intentional.
In this lesson, we’ll walk through how to set your fonts using Squarespace’s built-in font tools. You’ll be able to update your headings, body text, and more so your brand’s voice is reflected in every word.
How to Set Your Fonts in Squarespace
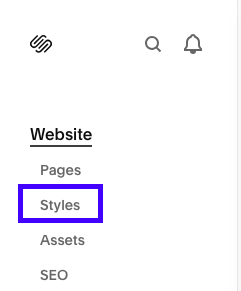
Go to the website panel
Click on Styles
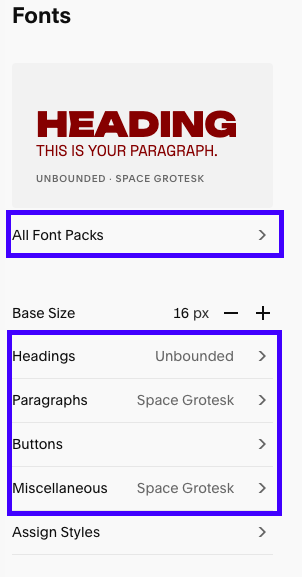
3. Select Fonts
From here, you’ll have two options:
Use a Font Pack: Squarespace offers pre-made font pairings that can be applied sitewide
Customize Fonts Manually: Click into Manage Fonts to choose your own for:
Headings
Paragraphs
Miscellaneous text (buttons, labels, etc.)
Add Your Brand Fonts
Use the dropdown menus to search for and select the fonts you’ve chosen for your brand.
If you're using fonts built into Squarespace, you're good to go!
If you plan to use a custom font, you’ll need to add a bit of code…but don’t worry. I walk you through how to do that in the Bonus CSS Module.
Adjust Styling
Once your fonts are selected, you can fine-tune how they appear:
Change font size and weight for different screen sizes
Adjust line height and letter spacing for readability
Preview your site as you go to make sure everything flows well
Action Steps
Open Design → Styles → Fonts
Select your Heading and Paragraph fonts
Adjust styling settings for size, spacing, and weight
Preview a few pages and make any final tweaks